Nao tutorial 2: First module
The first tutorial focused about giving you a painless introduction to Nao's world. You turned the robot on, connected to him through the web interface and SSH, configured some parameters and learnt a bit about the most important files and folders.
Now, it is time for you to delve deeper into the subject, and the best way is to code and test your own example module. Nao has some good default applications that allow you to control his behaviour (like Choregraphe), but this is nothing compared with the freedom that compiling your own applications gives to you. Hence, you will now practice with the official SDK (section "Software/Download")
NOTE: This tutorial is targeted for version 1.10.10 of the SDK and OS. Older versions like 1.8.16 or 1.6.13 are not likely to work.
Getting everything ready
I guess that your testing environment is the same as in the previous tutorial, only with your Nao connecting via wifi now. Also, you will need to download some software from Aldebaran's webpage, but if you are reading this wiki, it's because you are connected to the internet (duh!). Remember to turn your robot off if it isn't already.
Downloading the software
Official SDK
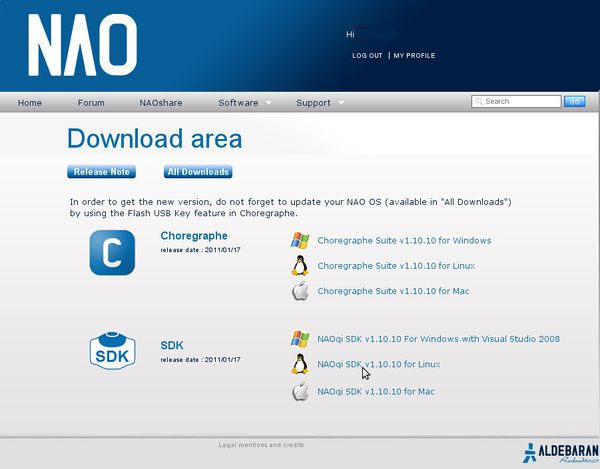
The guys from Aldebaran Robotics have an official SDK (Software Development Kit) available for registered users, on their webpage. Navigate to this link, enter your login info (you have it, right?), then click the "Software" and "Download" links.
You must download the last version of the Linux SDK (1.10.10 currently). After clicking on ot, you have to scroll down the user license agreement, "I agree", and "Click here to proceed". Wait for the 162 MB file to download (it's called naoqi-sdk-1.10.10-linux.tar.gz). Extract its contents, and it will spawn a folder named naoqi-sdk-1.10.10-linux. Move it to the location you like most.
Previous tutorial: Nao tutorial 1: First steps
